
- Jun 23, 2020
Trail Camera Placement And Setup Tips

Trail cameras are a remarkable innovation that have become prominent over the past few decades. Though they began as expensive and largely inefficient devices, their current-day precision and affordability make them a vital tool for any hunter. Trail cameras allow you to determine how many deer you have in your area, see bucks and where they are, and how they travel at different points in the season. Monitoring them gives you vital intel for the hunt.
But cameras can still be ineffective if not used properly. Without knowing where, when and how to place them, you could end up getting nothing but landscape shots. In this guide, we'll discuss some tips for getting the most out of your trail cameras.
Table of Contents
Where to Place Trail Cameras
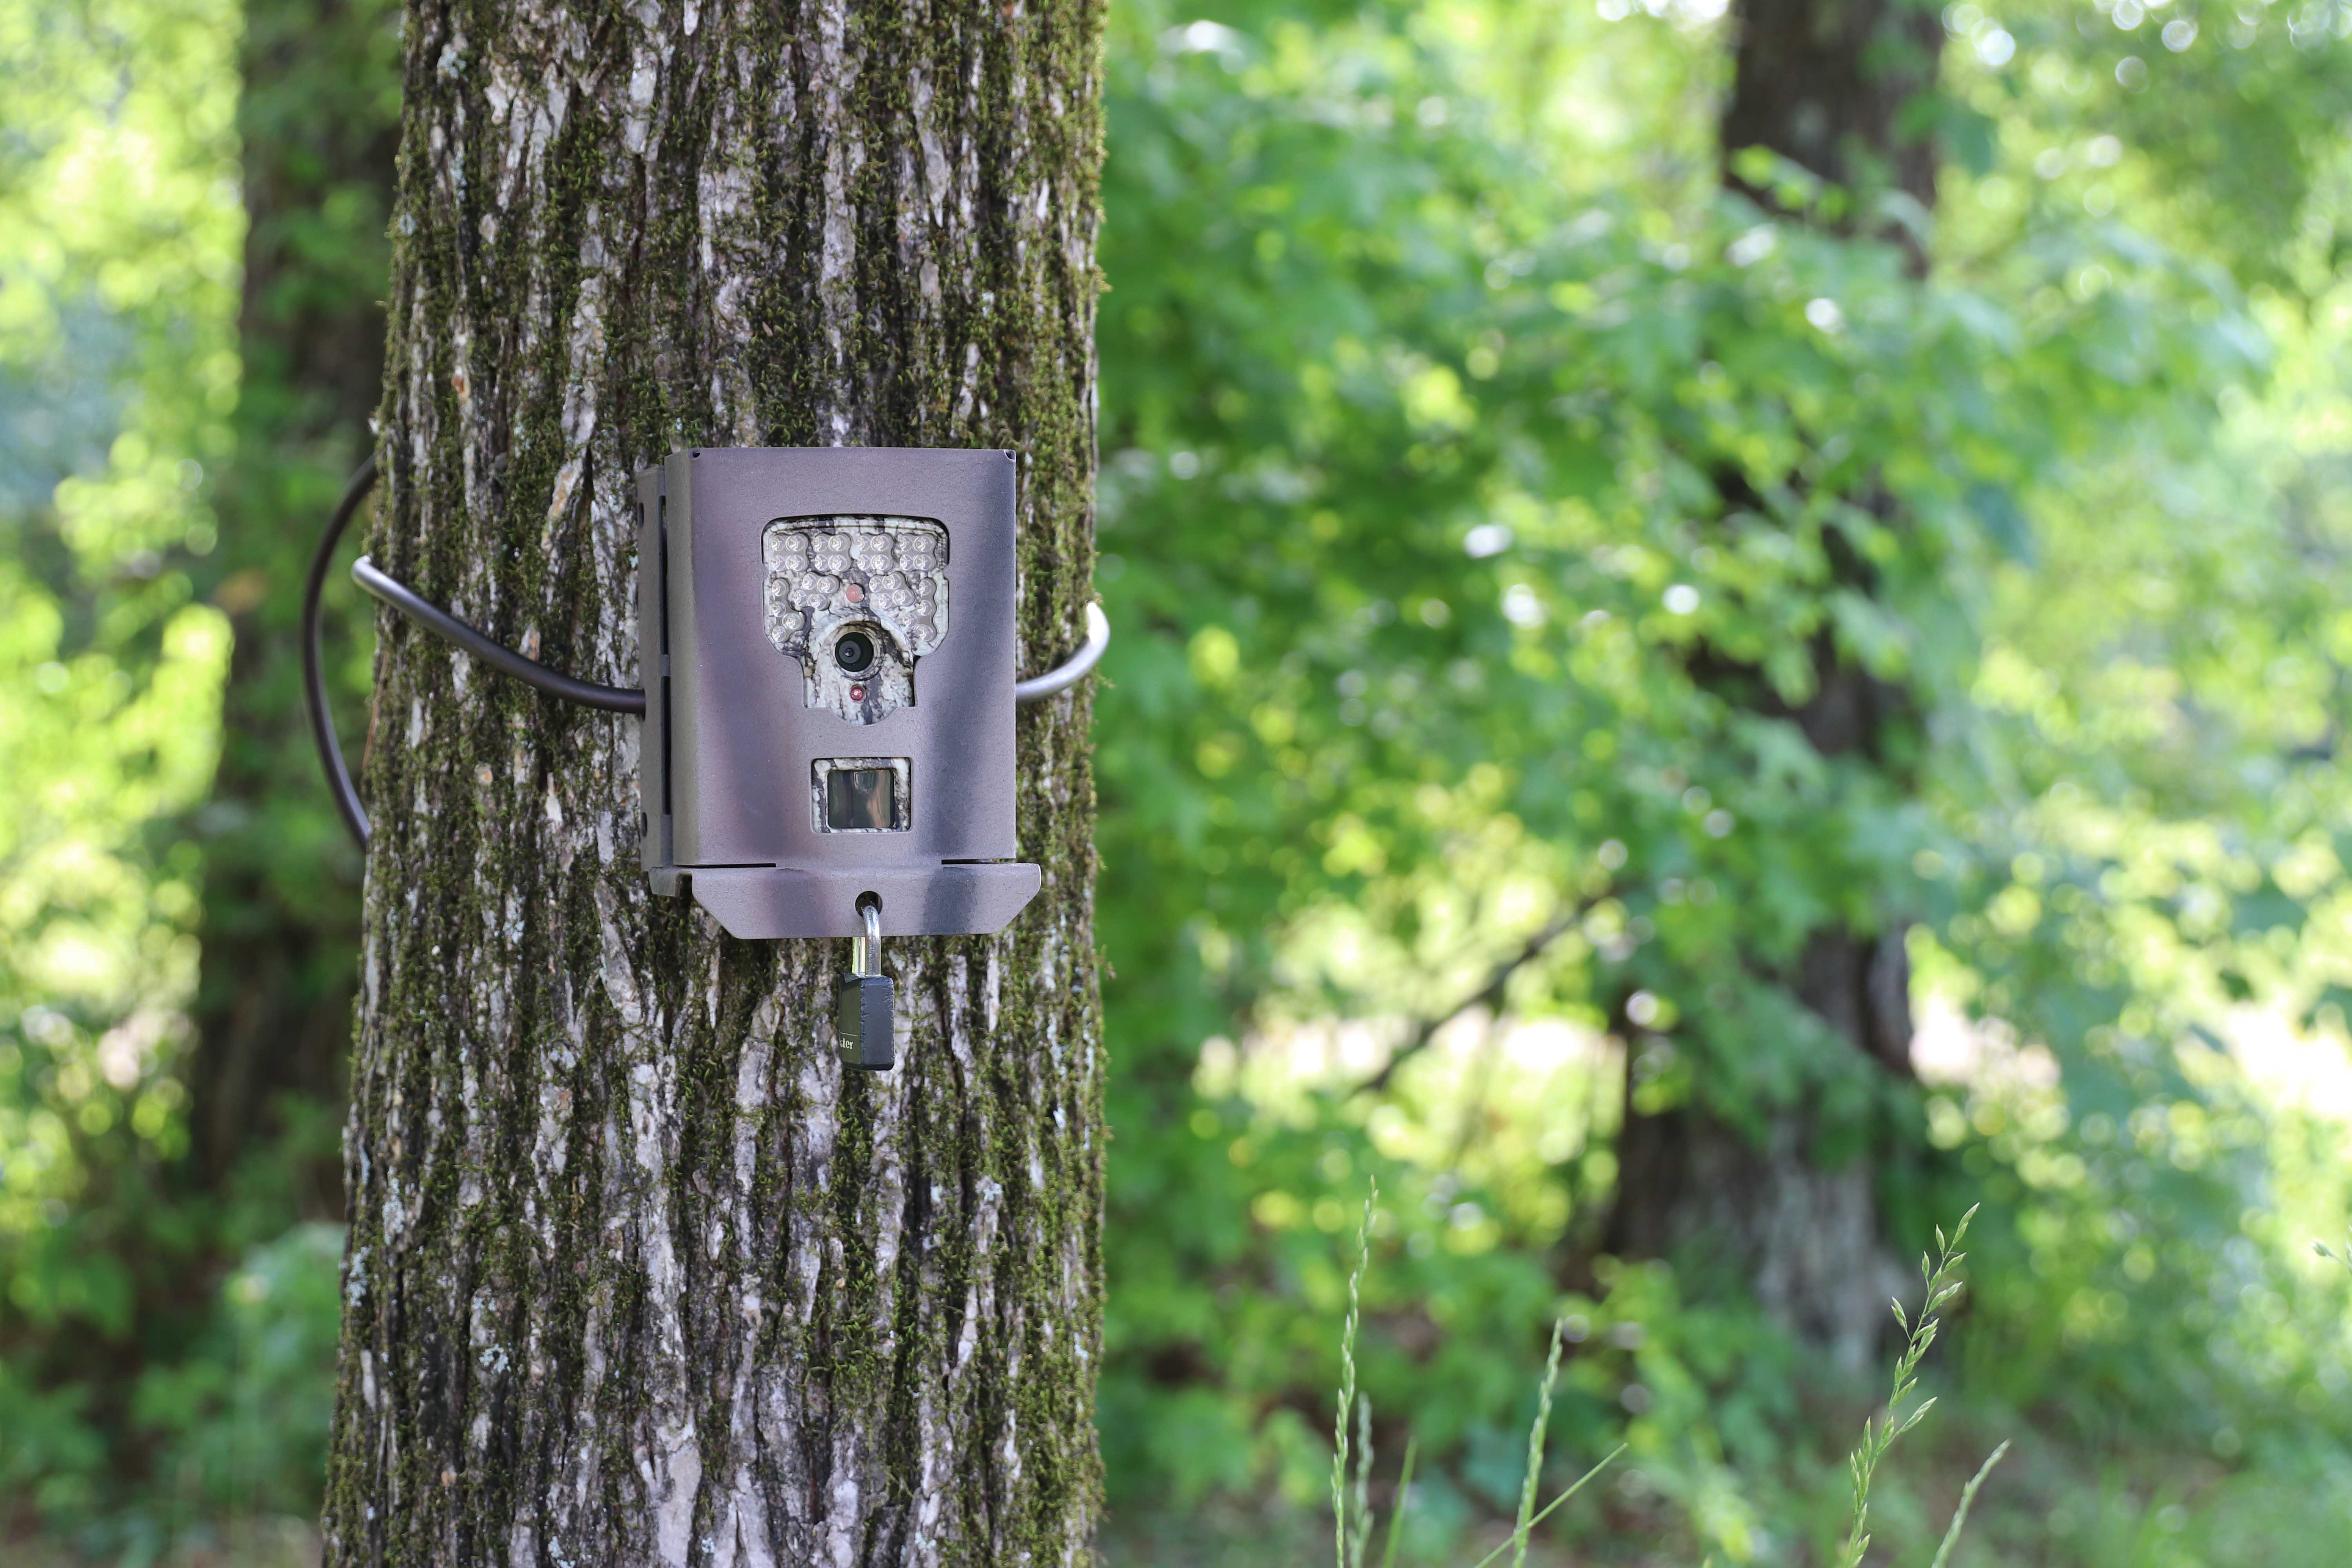
The most advantageous place to put trail cameras is on the sides of trees. Trees are numerous in most deer-heavy areas and offer a solid mount for your camera. But how high should trail cameras be off the ground?
While there's no set height, and you may occasionally need to get lower to avoid limbs, it's usually best to keep cameras at a deer's height — about 3 feet tall. If you feel deer will be alarmed by the camera's presence, you can place them 6 to 7 feet higher and out of their line-of-sight. Just be sure to aim the camera downward at the deer trail to get the photos.
How do you know where to place trail cameras for deer? The short answer is that it depends on the season. Deer behave differently at different times of the year, and you'll have to vary your trail camera placement accordingly. Travel corridors in cover between feeding and bedding areas are great locations for cameras. Deer feeders are excellent locations as deer visit them daily to feed.
Here's an overview of the best place to put a trail camera at different times of the year:
Pre-Season
Pre-season, which usually occurs during the summer, comes before the hunting season, but it can still be useful to monitor your deer population. It allows you to start getting photos of bucks growing velvet antlers and where they frequent, so you're better prepared.
The best way to attract deer to your cameras at this stage is to set out mineral licks. It may take some time for the deer to find it, but once they do, they'll be attracted to the area in large numbers and at a high frequency. Set your cameras up near the licks to capture all the incoming deer. You can also set up some near summer food sources like soybean fields and food plots.
Early Season
Once the season begins, bucks will start gearing up for the rut by rubbing their antlers on trees and making ground scrapes. At these spots, deer will linger for a few minutes, scraping the ground with their hooves and rubbing scent markers from their heads onto low-hanging branches overhead and on rub trees. Anytime you find fresh signs like this, it's always a perfect place to put cameras.
Rut
The breeding season for whitetail deer is called the rut. During this time, a bucks' testosterone is at peak and does are in heat, causing the bucks to constantly cruise, even into the open during daylight hours. This makes for a special time of season when a buck can step out from anywhere.
During the rut, position your cameras near funnels — anywhere deer will choose a 'path of least resistance' to get from one place to another, such as a creek crossing or a saddle in a hill or a line of woods connecting two larger areas of cover. Because bucks are on the move so much more than usual, they'll frequently use these places to get around. Food sources are another great location to catch activity as does feed and bucks cruise through looking for a receptive doe to breed.
Late Season
With rut over, the most reliable place to find deer tends to be near food. Using what you've observed in past seasons, locate the places your deer most commonly go to eat. Then, place cameras at those spots, to find a big buck trying to pack on as much weight as possible before winter sets in.
Tips for Mounting Your Trail Camera
Curious how to properly set up and mount a game camera? Most hunters are surprised at how simple the process is from start to finish. However, you will also want to position your trail camera in a place that is secure and high enough from the ground.
You're trying to capture images of deer, but that won't stop other animals, rocks, branches and more from interfering with your shot. Position your game camera facing north to prevent sunlight from washing out your subject in an image. Ideally, you'll want to find a stable tree base and attach the trail camera at the level of deer for success. A good rule of thumb is to position your game camera about 3-feet from the ground.
How to Setup a Trail Camera
A trail camera is one device all hunters and outdoor lovers can appreciate. These devices sit out in the wild and capture photos of deer, predators and more so you can get an idea of where the action is happening. Whether you're planning out where you'll place your treestand or simply want to gather images of wildlife, trail camera placement is crucial for crystal clear uploads and intel.
The right game camera setup helps ensure a successful hunting season. Here's how to set up a trail camera for fewer headaches down the road.
Here are some game camera setup tips to make sure you're getting the best results:
1. Choosing the Right Location
Before you can set up a trail camera, it's important to consider your surroundings. You'll only capture high-resolution images of deer by placing the device in an area in which local herds travel.
Deer go to great lengths to meet their basic needs of survival. Think about a deer's source of food, water and cover. You'll want to position trail cameras close to crops, lakes, creeks and terrain, as deer are drawn to resources available in these spots. Deer travel back and forth between food sources and bedding areas, so visit hunting areas during daylight hours to familiarize yourself with the property.
2. Angle Downward If High On A Tree
If you've placed your camera high up on the tree, then you'll want to angle it downward to ensure it can still monitor the deer passing below. If your camera is at deer height (3 feet) then aim it straight ahead.
3. Face Away From the Sun
When you're positioning cameras, keep track of where the sun rises and sets. If a camera is facing directly into the sun, it will wash out your photos and you won't know what's in the shot. So, given that deer are most active at sunrise and sunset — when the sun is positioned due east and due west, respectively — you'll want to make sure your cameras are facing north and south. During the fall and winter months In the northern hemisphere, the sun's path across the sky is angled to the south, so the best direction to face your cameras then is north.
4. Use the Right Settings
Trail cameras have different settings you can use related to factors like brightness and sensitivity. If setting up on a trail don't use a photo delay so that it continues taking a photo of whatever is walking by. If placing on a high-traffic area such as a feeder, then use the delay setting for up to 5 minutes between pictures to cut down on redundant deer photos.
Also, you can choose to record in video, which is really cool. You can shoot only video, only a photo, or a combination where it takes a photo and then records video each time it's triggered. You can name each camera for easy photo identification later and choose many other setting options to optimize your camera setup.
5. Clear Obstacles From In Front of the Lens
If you have tall weeds and grasses or low-hanging tree limbs or saplings growing within 20 yards of your camera's lens then those same obstacles will get in the way of your subject. Also, if the shot is taken at night with flash, many grasses and sapling close to the camera will whiteout the image, making deer in the background impossible to see.
Try to position your cameras in spots where the ground clutter is cleared or be sure to clear it before leaving.
Get Your Moultrie Trail Camera Today
Whether you're looking to start your journey into the world of hunting or to grow your trail camera collection, Moultrie has the supply of professional trail cameras you need, at an affordable price. Want to step up your scouting game to the next level? Check out the Moultrie Mobile app and you can have photos from the field sent directly from the camera to your phone, where you can view them 24/7 from the comfort of your home.
Take a look at our wide assortment of cellular trail cameras today to get started!

-
 Properly using deer attractants can be the difference between luring a deer and going home empty-handed. Learn more about deer attractants here!
 -

Moultrie announces the release of six new feeder products highlighted by the innovative Universal Bluetooth® Timer and App, a revolutionary addition to the world of deer feeder products, set to redefine efficiency and convenience in wildlife management. The new Universal Bluetooth® Timer, compatible with the new Moultrie Bluetooth® Timer App, provides users with unprecedented control over their feeding schedules.
-

Moultrie is excited to announce the launch of its new line of accessories designed exclusively for Ranch Series® feeders. Featuring innovative attachments such as the Ranch Series 12V Solar Panel, the Ranch Series Dual Chute, and the Ranch Series Axis Trough, users can have unparalleled flexibility and convenience in managing their feeding setups.