- Sep 2, 2014
Pre-Season Preparation
WHEN TO SCOUT
Unless you’re insanely lucky, you can’t just walk into the woods, set up a stand and expect to bag a buck, especially a big one. If you don’t plan your line of attack and scout the right areas prior to opening season, your chances of spotting and actually taking a buck will be low.
If you’re planning to hunt in an area you’ve never been in before, scout a few months before the season opens to get a general idea of the location of roads, trails and possible food sources. For the hunting spots you may be a bit more familiar with, the ideal time to scout is four to six weeks in advance, staying clear of the weeks before the season begins. Scouting too close to opening day puts pressure on the deer. While you may locate them at this time, you may also push these animals out of the area, especially if you scout consecutively for two or three days.
HOW TO SCOUT
Ultimately, the most important factors for effective scouting are to take your time, be thorough and remember that scouting is an active experience. In fact, some of the most successful hunters spend more time scouting than they do actually hunting. When you’re walking around in the woods, you should be thinking about not just whether or not deer frequent the area, but what they do while they’re there.
Also, be sure to wear rubber boots and scent-free camouflage. Deer are wary of humans, and they easily can detect any odor you leave behind. Remember that a good part of the year has passed without any hunters in the woods, and your presence will be a wake-up call.
WHAT TO LOOK FOR
To see and to bag more bucks, look for more than just droppings and tracks. Look for game trails, rubs, bedding areas, food sources and basically any signs that show that deer return to the area time and again. If you’re scouting during September, concentrate on locating bedding areas in thick regions like honeysuckle and pine plantations and pinpointing food sources such as white oaks, persimmons, honeysuckle and greenbrier. Mark these spots on your GPS and map, if you’re using one. Make notes of any patterns you notice in a field notebook, so you can refer to it when the season arrives.

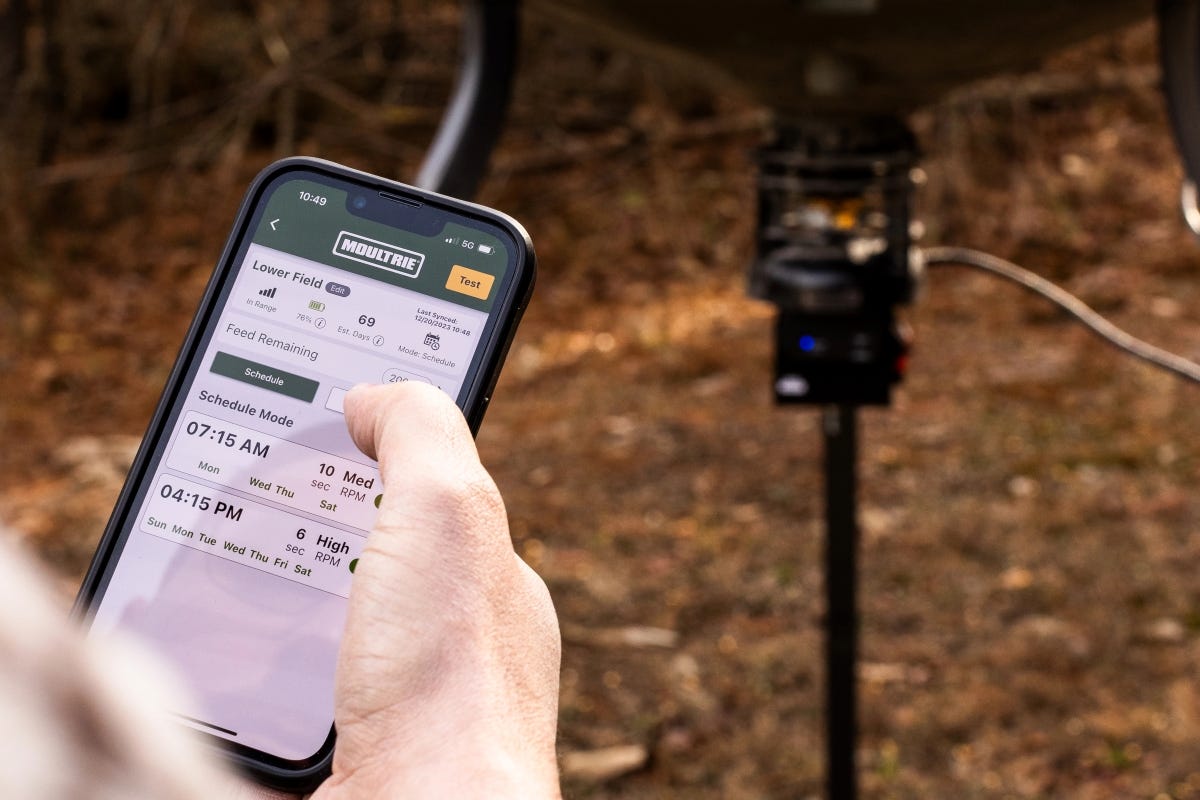
In addition, if you plan to use a game feeder, be sure to locate an open clearing that the deer can easily access. Once you’ve settled on a spot, and the feeder is in place, schedule regular, consistent feedings throughout the pre-season months to get the most out of your deer. Moultrie’s 30-Gallon All-In-One Feeder is a great selection as its 6-foot height makes it easy to fill, but it still performs like a traditional spin cast feeder.
HOW TO USE A GAME CAMERA
If you’re short on time, or if you just want a technological advantage this season, don’t overlook using a strategically located digital camera to help you scout for the best hunting spots… and for the best bucks. A game camera is an incredibly useful tool to help you record images and video of the deer, long after you’ve left the field. For the ideal set-up, look for high-traffic areas that concentrate the most deer, such as well-used game trails, food sources and near funnels or pinch points. Make sure to set up your camera so that it is not facing directly into the sunrise or sunset. Forgetting this simple step can result in blurred or whited-out photos from the sun's glare.


